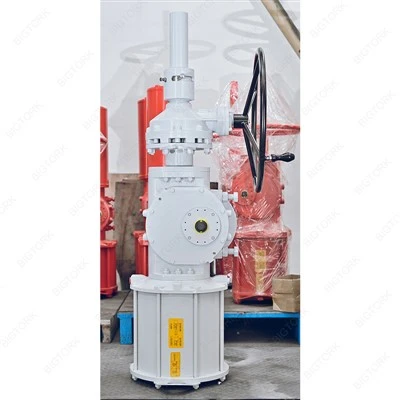
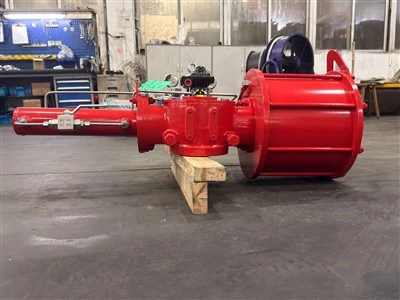
Mounting an air actuator is a critical process that requires careful planning and execution to ensure optimal performance and seamless integration with your system. As a leading air actuator supplier, I understand the significance of providing clear guidance on this topic. In this blog post, I'll share a comprehensive guide on how to mount an air actuator properly, covering everything from preparation to the final steps.
Pre - Mounting Preparation
Before you start mounting the air actuator, there are several crucial preparatory steps you need to undertake.
1. Select the Right Actuator
First and foremost, choosing the appropriate air actuator for your specific application is vital. Consider factors such as the required torque, operating pressure, and the type of movement (rotary or linear). We offer various types of air actuators, including Double Acting Actuator, Air Torque Actuator, Spring Return Actuator, and of course, our general Air Actuator. Each type has its own characteristics and is suitable for different applications. For instance, double - acting actuators are ideal for applications where bidirectional motion is required, while spring - return actuators are often used for fail - safe operations.
2. Check the Mounting Surface
The mounting surface must be flat, clean, and free of any debris, rust, or burrs. A rough or uneven surface can cause misalignment and lead to premature wear and tear of the actuator. Use a precision measuring tool to ensure the surface meets the required flatness specifications. If necessary, machine the surface to achieve the desired flatness.
3. Gather the Necessary Tools
Collect all the tools you'll need for the mounting process. This typically includes wrenches, screwdrivers, torque wrenches, and alignment tools. Make sure the tools are in good condition and of the correct size for the actuator and mounting hardware.
Mounting the Air Actuator
Once you've completed the pre - mounting preparation, you can proceed with the actual mounting process.
1. Position the Actuator
Carefully position the air actuator on the mounting surface, aligning it with the mounting holes. If you're using a rotary actuator, ensure that the output shaft is properly aligned with the equipment it will be driving. Use alignment tools if needed to achieve precise alignment. This step is crucial as misalignment can cause excessive stress on the actuator and its components, leading to reduced performance and potential failure.
2. Insert the Mounting Bolts
Insert the mounting bolts through the holes in the actuator and into the corresponding holes in the mounting surface. Do not fully tighten the bolts at this stage. Just hand - tighten them to hold the actuator in place. This allows for some adjustment during the alignment process.
3. Align the Actuator
Use a dial indicator or other alignment tools to check the alignment of the actuator. Make any necessary adjustments to ensure that the actuator is perfectly aligned both horizontally and vertically. This may involve loosening the bolts slightly and re - positioning the actuator. Once the alignment is within the specified tolerance, start tightening the bolts gradually in a criss - cross pattern. Use a torque wrench to tighten the bolts to the recommended torque value. Over - tightening or under - tightening the bolts can cause problems, so it's important to follow the manufacturer's guidelines.
4. Connect the Pneumatic Lines
After the actuator is securely mounted, it's time to connect the pneumatic lines. Identify the inlet and outlet ports on the actuator. The inlet port is where the compressed air enters the actuator, while the outlet port is where the air exits. Use appropriate fittings and tubing to connect the pneumatic lines to the ports. Make sure the connections are tight to prevent air leaks. You may need to use thread sealant or O - rings to ensure a proper seal.
5. Install Limit Switches (if required)
Some applications may require the installation of limit switches to control the movement of the actuator. Limit switches can be used to detect the position of the actuator and send signals to the control system. Follow the manufacturer's instructions to install the limit switches at the appropriate locations. Connect the electrical wires to the limit switches and ensure that the wiring is properly insulated and secured.
Post - Mounting Checks
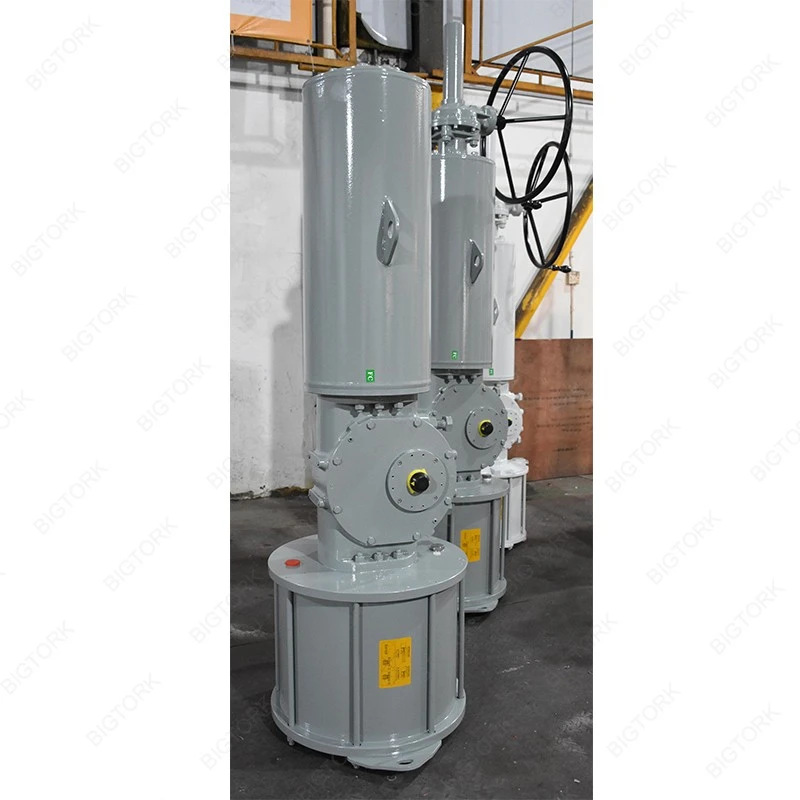
After mounting the air actuator, it's essential to perform a series of checks to ensure that it is working correctly.

1. Leak Test
Conduct a leak test on the pneumatic connections. Apply a soapy water solution to the connections and look for bubbles. If bubbles appear, it indicates an air leak. Tighten the connections or replace any faulty seals or fittings to eliminate the leak.
2. Function Test
Supply compressed air to the actuator and test its movement. Check if the actuator moves smoothly and accurately between its full stroke positions. If there are any jerks, stalls, or abnormal sounds during the movement, there may be a problem with the actuator or the mounting. Check for proper alignment, free movement of mechanical components, and correct air pressure.
3. Calibration (if necessary)
If the actuator is part of a control system that requires precise positioning, you may need to calibrate it. This involves adjusting the limit switches or other control parameters to ensure that the actuator stops at the desired positions accurately.
Maintenance Considerations
Once the air actuator is mounted and functioning properly, regular maintenance is essential to ensure its long - term reliability.
1. Lubrication
Proper lubrication is crucial for the smooth operation of the actuator. Follow the manufacturer's recommendations regarding the type and frequency of lubrication. Over - lubrication can attract dirt and debris, while under - lubrication can cause excessive wear.
2. Inspection
Periodically inspect the actuator for signs of wear, damage, or leaks. Check the mounting bolts for tightness, the pneumatic lines for damage, and the mechanical components for any signs of fatigue or breakage. Replace any worn or damaged parts promptly.
3. Cleaning
Keep the actuator clean to prevent the accumulation of dirt, dust, and debris. Use a clean, dry cloth to wipe the exterior of the actuator regularly. If necessary, clean the interior components using a suitable cleaning agent.
Conclusion
Mounting an air actuator is a multi - step process that requires attention to detail and precision. By following the steps outlined in this guide, you can ensure that your air actuator is mounted correctly, operates smoothly, and provides reliable performance over its lifespan. As a Air Actuator supplier, we are committed to providing you with high - quality products and comprehensive support. If you have any questions or need further assistance with mounting an air actuator or choosing the right actuator for your application, please don't hesitate to contact us for procurement and further discussions.
References
- Industry standards and guidelines for air actuator installation.
- Manufacturer's manuals for the specific air actuator models.