Dismantling gear shaft: Use clamp pliers to remove the clamp spring from one end of the pneumatic actuator, and then gently tap the gear shaft with a hammer to slowly release it. Be careful not to apply too much force to avoid damaging the gears or racks.
Dismantling the end cap: Use an Allen wrench to unscrew the screws on the end cap, and then remove the end cap. When disassembling the end cap, diagonal screws should be used to prevent the internal spring from suddenly popping out and injuring people.
Disassemble the piston and rack: Use tools to remove the piston and rack from the cylinder block, being careful not to scratch the inner wall or seals of the cylinder block.
Replace the seal: After replacing the seal of the pneumatic actuator, it needs to be reassembled. The specific steps are to first install the gear shaft, then plug the rack piston back in, press it against the gear shaft, and slowly rotate the gear shaft into the piston, ensuring that the depth of these two sections of the piston is consistent.
Install the spring assembly and end cap: Finally, install the spring assembly and end cap.
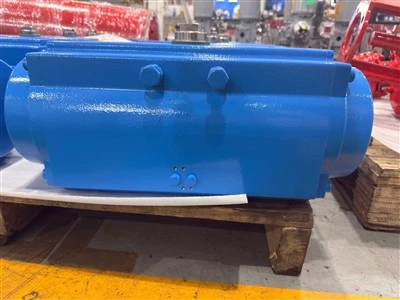
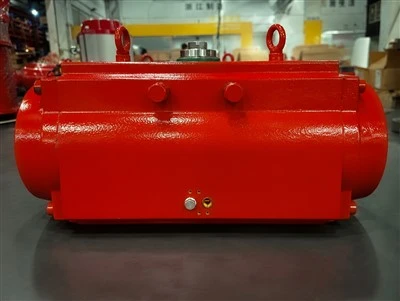
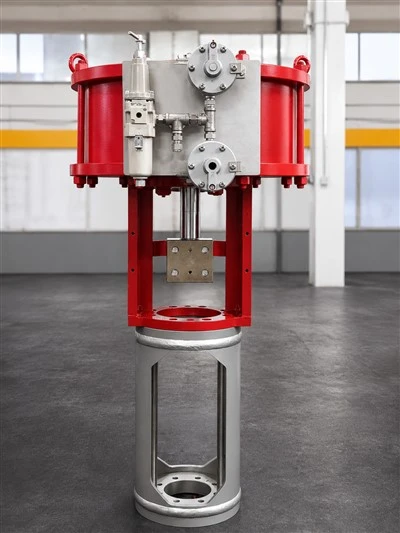
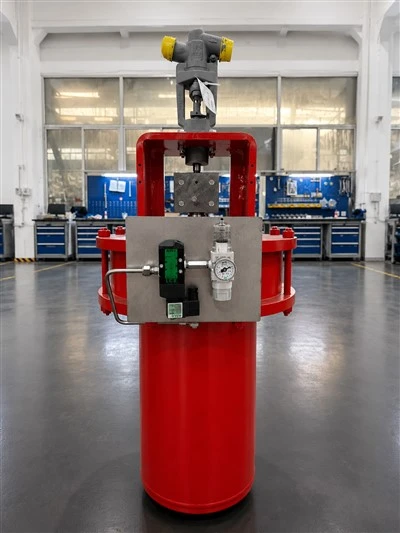
Disassembly And Assembly Process Of Pneumatic Actuator
Send Inquiry